First, you need to open up your favourite browser to get started with HPBX. HPBX is fully configured through the web browser. It will use IE9 and images may differ slightly if using Firefox or any other browser.
Go to the web page http://hpbx.com.au.

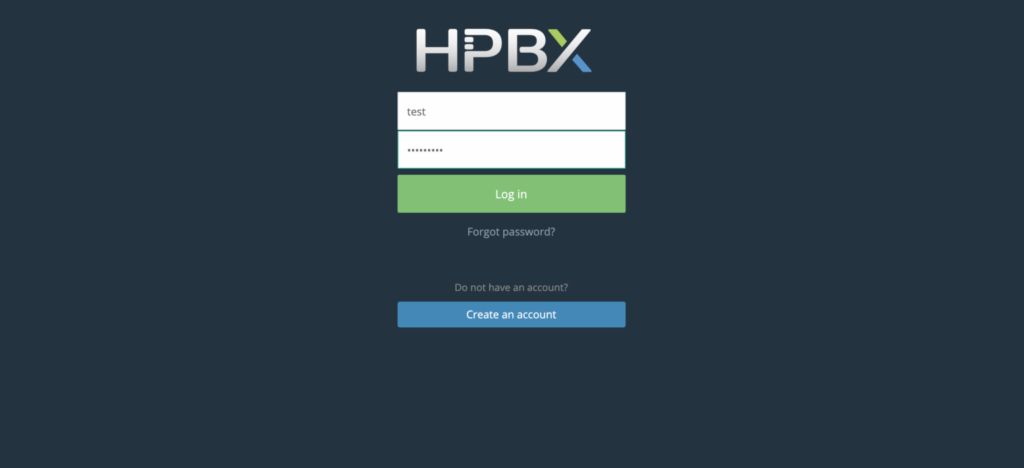
You will be emailed a username and password once you have an account created. This will be the web user and web pass that was given to you. Place these fields in the username and password fields on the web page. Then press the Log in button.

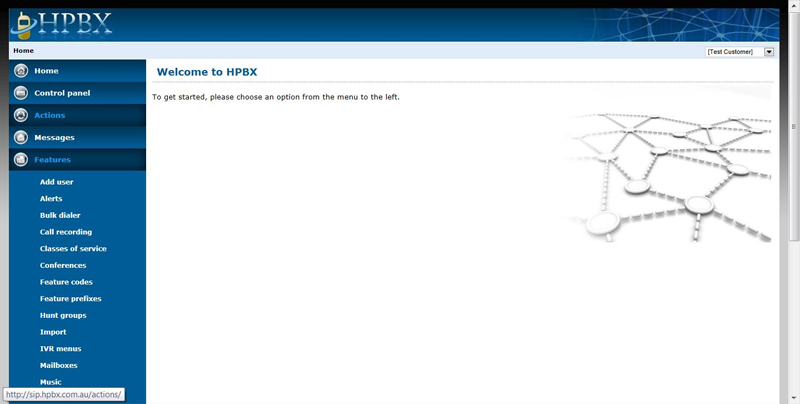
Once logged in, you will be able to see a menu system on the left with many different features that you can use on your hosted PBX. In this tutorial, we are going to create a new user so that you can start using the system for phone calls. To do this click on features then click on add user.

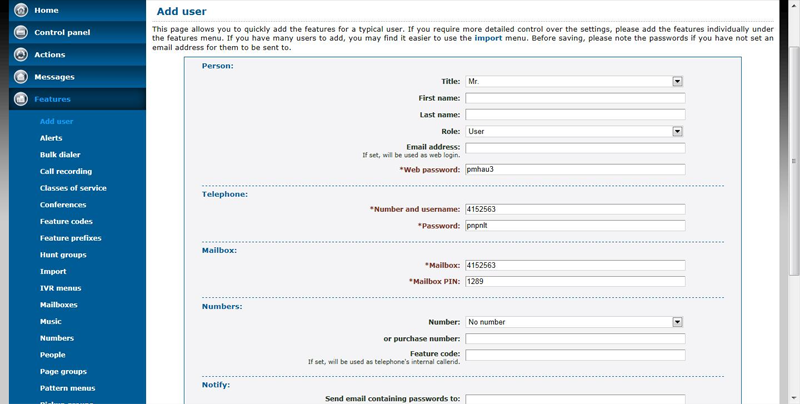
The add user function does 3 things. It creates a web user, a telephone user, and a voicemail box. When creating a user, put in the first name, last name, and email address. The other necessary details will be populated for you. If you put in your email address, this will be used for the web login user. The fourth field called ‘Role’ is important to select. This represents how much access someone will have to the system. For a basic user, select them as ‘user’. If you want the person to be able to manage the PBX and see call records, select the person as an ‘administrator’. The final important step is to put in an email address to have all the passwords emailed to. Once you add the user into the system you won’t see their password again. Having it in your email is handy when you go to the IP phone to set it up.

Now you will have successfully logged into HPBX and created your first user. Find the email the system has sent to you and setup your IP or soft phone.